Injection Moulded Electronics Enclosures: Material, Design and Joining Guide
Most electronics enclosures are injection moulded from ABS or a PC/ABS blend, with walls of about 1.5 to 3 mm, and closed with screws, snap fits or ultrasonic welding. The right choice depends on three things: how hot and how rough the enclosure's life will be, whether it must be sealed, and how many units you will make. Getting these decided before the mould is cut avoids most of the fit and cosmetic problems that cost time later.
Key facts
ABS is the usual starting material: low cost, easy to mould, and it welds well. PC/ABS adds impact strength and heat resistance. Pure PC suits clear covers and tougher, hotter duty.
Keep walls even. Uneven walls cause sink marks and warpage, and the enclosure will not close flat.
Screws are simple and serviceable. Snap fits cost less per unit but need careful design. Ultrasonic welding gives a clean, tamper-resistant and, with the right joint, sealed closure, but the enclosure cannot be opened for service.
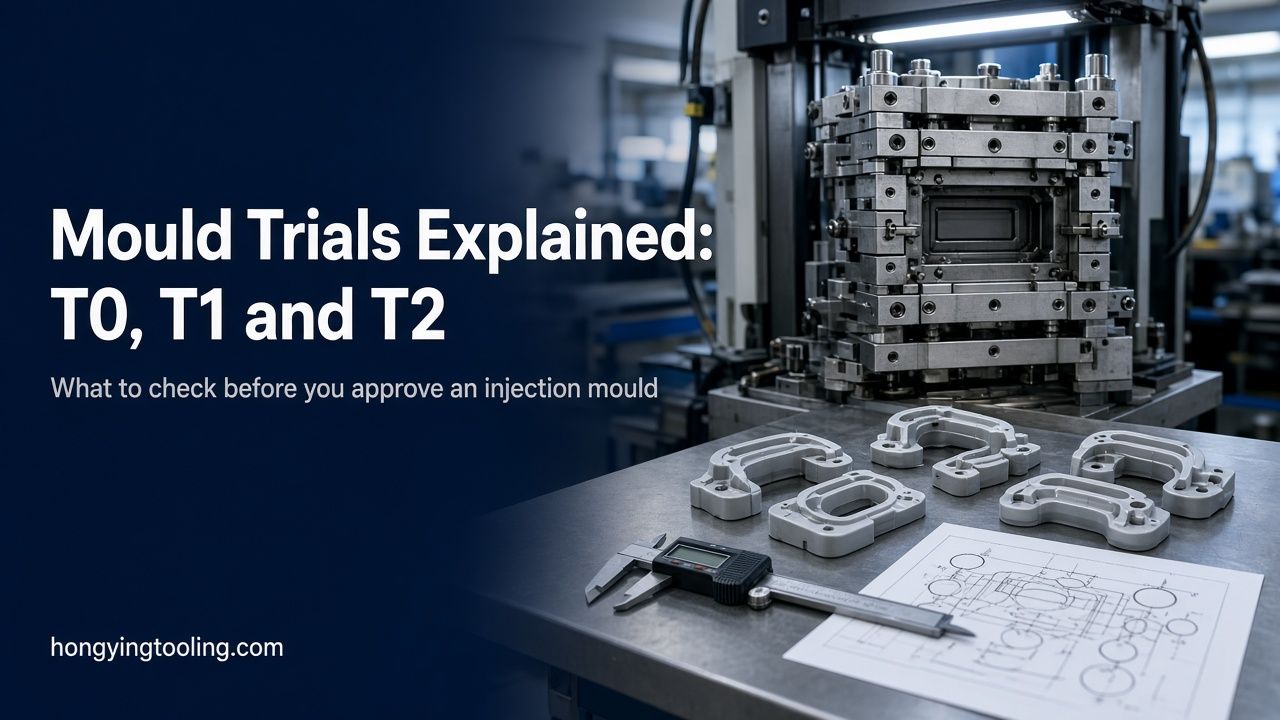
A prototype mould lets you test the real material, fit and welding before you commit to production steel. A 3D print only shows shape.
Resin, wall and joint choices should be confirmed against the resin datasheet and with the party doing the moulding and welding.
Which plastic is best for an electronics enclosure: ABS, PC or PC/ABS?
For most devices, ABS or PC/ABS is the answer. Pick the cheapest material that survives the product's real heat, impact and chemical exposure, and check it against the resin datasheet.
ABS. Low cost, easy to mould, takes paint and texture well, and welds well ultrasonically because it is an amorphous plastic. It is not ideal outdoors, since standard grades fade and weaken under UV light. Flame-retardant grades exist for products that need a flammability rating.
PC/ABS blend. The common upgrade. It keeps ABS's mouldability and adds impact strength and some heat resistance, so it suits handheld devices, chargers and housings that get dropped. It also welds well. Many flame-retardant electronics housings use this blend.
Polycarbonate (PC). The toughest and most heat-resistant of the three, and it can be clear, so it suits light pipes, lenses and see-through covers. It costs more, it is notch sensitive, so sharp corners crack, and some chemicals can craze it under stress. Dry it well before moulding.
ASA. Looks and moulds like ABS but resists UV, so it is the usual choice for outdoor enclosures.
Semi-crystalline plastics such as PP and nylon. Cheap or strong, but harder to weld ultrasonically and more prone to warpage. They are a fit for some products, though not the default for a welded enclosure.
Two checks before you commit:
Ask what the enclosure must survive. Maximum temperature, UV, cleaning chemicals, drop height and any flammability rating decide the resin more than price does.
Ask for the flame rating you need on the exact thickness. A flammability rating belongs to a specific grade and thickness, not to the plastic family.
How should an injection moulded enclosure be designed?
These are typical starting points. The final values come from the resin datasheet and a design review with the mould maker, so treat the ranges as a first draft, not a specification.
Wall thickness. Often about 1.5 to 3 mm for ABS and PC/ABS, kept as even as possible. Where the wall must change, blend it gradually instead of stepping it. Uneven walls are the main cause of sink marks and warpage.
Ribs. Make a rib thinner than the wall it stands on, commonly around half to two thirds of the wall, so the opposite face does not show a sink mark.
Screw bosses. Join each boss to the wall with ribs or gussets instead of leaving it as a thick solid post, and core it out so the wall around the screw stays even. Check the boss size against the screw supplier's guidance for the resin.
Draft. Give vertical faces about 1 to 2 degrees of draft so the part releases cleanly. Textured surfaces need more draft, and the amount depends on the texture depth, so agree the texture before the mould is designed.
Corners. Use radii on inside and outside corners. Sharp corners concentrate stress, and PC especially cracks from them.
Snap fits. Design the hook and the beam for the strain the resin can take, with a generous radius at the root. A snap fit that works on a printed prototype can break in moulded production material, so test it in the real resin.
Parting line and gate. Decide where the mould opens and where the plastic enters before the cosmetic faces are final, because both leave marks. Keep gates off visible and sealing surfaces.
Venting and heat. Plan ventilation slots if the electronics run warm, and check that slots do not weaken the wall or let water in.
EMI shielding. If the enclosure must block interference, plan the coating or insert from the start. Conductive paint, plating and metal inserts each change tolerances and cost.
Sealing. For dust or water resistance, design the joint and any gasket groove together, and have the sealing level tested on the finished enclosure, not assumed from the drawing.
Marking and texture. Allow flat zones for labels, laser marking and logos, and agree the texture finish early, because it affects draft and cost.
Ultrasonic welding, screws or snap fits: how should the enclosure close?
Use screws if the product must be opened for repair, snap fits for low-cost parts that rarely need opening, and ultrasonic welding when you want a permanent, clean and possibly sealed closure. Choose this early, because each option changes the part design.
Screws. Easy to service and easy to prototype. They add parts, assembly time and screw bosses, and the screw holes can show on the outside.
Snap fits. No extra parts and fast assembly, so they suit volume products. The design must be precise, and a snap fit that is too stiff breaks while one that is too loose rattles. Opening them for service can damage the hooks.
Ultrasonic welding. High-frequency vibration melts a small ridge of plastic at the joint, and the two halves fuse in about a second or two. It works best on amorphous plastics such as ABS, PC and PC/ABS. It leaves no screws and no visible fasteners, and with a suitable joint it can seal against dust and moisture. The trade-offs are that the enclosure cannot be opened without cutting it, and that the equipment and the welding fixture are extra tooling.
Adhesive or solvent bonding. Possible for some plastics, but slower and harder to control. Most volume products use one of the three methods above.
Weld joint design basics
Energy director. A small triangular ridge moulded on one of the two mating surfaces melts first and forms the weld. It is the simplest joint and the usual start. Its exact size follows the welding equipment supplier's rules for the resin and wall.
Shear joint. The halves slide together with a controlled overlap. It gives a stronger, more sealed weld and suits tighter requirements, but it needs tighter dimensions.
Flat, supported mating surfaces. Thin or unsupported walls near the joint absorb the vibration and weld poorly, so support the joint with the fixture and with ribs behind it.
Space for flash. Melted plastic squeezes out. Leave a small trap or step if the outside edge must look clean.
Test the weld on real parts. Trial welds on moulded samples show the strength and cosmetic result before production, and they can also show whether the electronics inside survive the vibration.
Ask whoever will weld the parts whether the process runs in their own plant or at a partner, and ask for a sample weld report.
How do you go from 3D print to production enclosure?
The usual path is a 3D printed fit check, then a prototype mould in the real plastic, then production steel once the design is proven. Each step answers a different question, and skipping the middle one is the most common source of expensive mould changes.
3D printed enclosure. Cheap and fast, good for checking size, ports, buttons and how the board sits. It cannot show how moulded plastic behaves: wall sinks, warpage, weld lines or whether snap fits survive.
Prototype mould (aluminium or soft tooling). A simpler mould cut quickly in aluminium produces parts in the real resin. It is where you test the fit, the snap fits, the ultrasonic weld and the cosmetic finish. Aluminium moulds are generally meant for a limited number of parts, while hardened steel moulds run for hundreds of thousands of cycles or more. Our injection mould page lists typical prototype and production lead times, which should be confirmed per project.
Production mould (hardened steel). Built once the design is frozen. Changes after this point cost more, which is why the prototype stage pays for itself on any design with a welded or tight-fitting closure.
When a prototype mould is worth it. When the enclosure has snap fits, a welded joint, a seal, tight tolerances around connectors, or a cosmetic surface you will sell. For a one-off or a very small run, printing or machining may be cheaper.
What to send for a quote. The 3D model (STEP), the target resin, the yearly volume and the number of prototype units, the closing method (screws, snap or weld), the surface finish and any sealing, flame or EMI requirement. A drawing with critical dimensions helps. A reviewer can then point out risks, such as an uneven wall or a weld joint with no support, before any steel is cut.
Prices vary with size, cavity count, texture and steel, so ask for a written quote that separates the prototype mould, the production mould and the sample parts.
What goes wrong with moulded enclosures, and how is it fixed?
Most enclosure defects trace back to wall thickness, cooling, venting or moisture. Always dry hygroscopic resins such as ABS and PC to the datasheet before moulding, because wet material causes splay and weak parts.
Sink marks: a rib, boss or thick section is too heavy for its wall. Thin the rib or boss root, add coring, or adjust packing and cooling.
Warpage: uneven walls or uneven cooling pull the enclosure out of shape, so the halves no longer close flat. Even out the walls, balance the cooling, and check the gate position.
Weld lines: visible lines where two flow fronts meet, often near holes and slots. Move or add a gate, raise melt and mould temperature slightly, or change the layout so the line falls on a hidden face.
Flash: plastic escapes at the parting line. Check mould wear and clamp force, and repair the shut-off.
Short shots: the part does not fill. Check venting, gate size, melt temperature and injection speed.
Burn marks: trapped air burns the plastic at the end of fill. Improve venting and slow the last part of the injection.
Splay or silver streaks: moisture in the resin. Dry the material longer and check the dryer.
Cracking at screw bosses or snap fits: high stress at a sharp corner, an undersized boss or the wrong screw. Add radii, resize the boss, and use the screw type the resin supplier recommends.
Weak or messy ultrasonic welds: poor joint design, unsupported walls or wrong settings. Redesign the joint, support the fixture, and run trial welds.
Agree a visual standard for the cosmetic faces in writing before the first production lot, so you and the supplier judge scratches, streaks and flash the same way.
What should you ask before buying an enclosure mould from China?
Which resin grade, and does the supplier provide the datasheet and a lot certificate?
Which steel, how many cavities, and what press size and cycle time are assumed?
Who designs the ultrasonic weld joint and the welding fixture, and where is the welding done?
What reports come before shipment: first article dimensions, mould trial video and sample parts?
Is the cosmetic surface agreed in writing, including texture, parting line and gate position?
How are sealing, flame rating or EMI requirements tested on the finished enclosure?
Who owns the mould drawings and the tool after payment, and what happens to spare parts?
What is the schedule, written out separately for design, steel, machining, trial and revision?
Frequently asked questions
What is the best plastic for an electronics enclosure? ABS is the usual low-cost choice, and PC/ABS is the common upgrade when you need more impact strength and heat resistance. Use ASA for outdoor products and PC for clear covers or tougher duty. Check the exact grade, flame rating and thickness on the datasheet.
How thick should the walls of a plastic enclosure be? Typically about 1.5 to 3 mm for ABS and PC/ABS, kept even. Ribs are thinner than the wall they stand on. Your mould maker confirms the numbers for the resin and part size.
Is ultrasonic welding better than screws? Neither is better in general. Welding gives a permanent, tidy and possibly sealed closure with no fasteners, while screws allow repair. Choose by whether the product must be opened, and design the joint for it from the start.
Which plastics weld well ultrasonically? Amorphous plastics such as ABS, PC and PC/ABS weld well. Semi-crystalline plastics such as PP and nylon are harder to weld and need more careful joint design.
Is a 3D printed prototype enough before production? It checks shape and fit, but not how moulded plastic behaves. Sink marks, warpage, snap-fit strength and weld quality show up only in a mould in the real resin.
How long does a prototype mould take? It depends on size and complexity. Ask for a written schedule that separates design, machining, trial and revision. Our injection mould page lists typical lead times, which are confirmed per project.
Can you quote from a 3D file? Yes. Send a STEP file, the resin, the yearly volume and how the enclosure closes, and we will review it for moulding problems before quoting.
Need an enclosure mould quoted?
HongYing Tooling manages mould making and production through a network of verified manufacturing partners in China, and we act as one engineering contact for the whole project. Send us the 3D model, the resin you intend to use, how the enclosure will close, and your yearly volume. We will review the design for moulding problems before any steel is cut and give you a quote with a clear schedule. You can start on our injection mould page, see our electronics industry page, or email jayson@hongyingtooling.com.